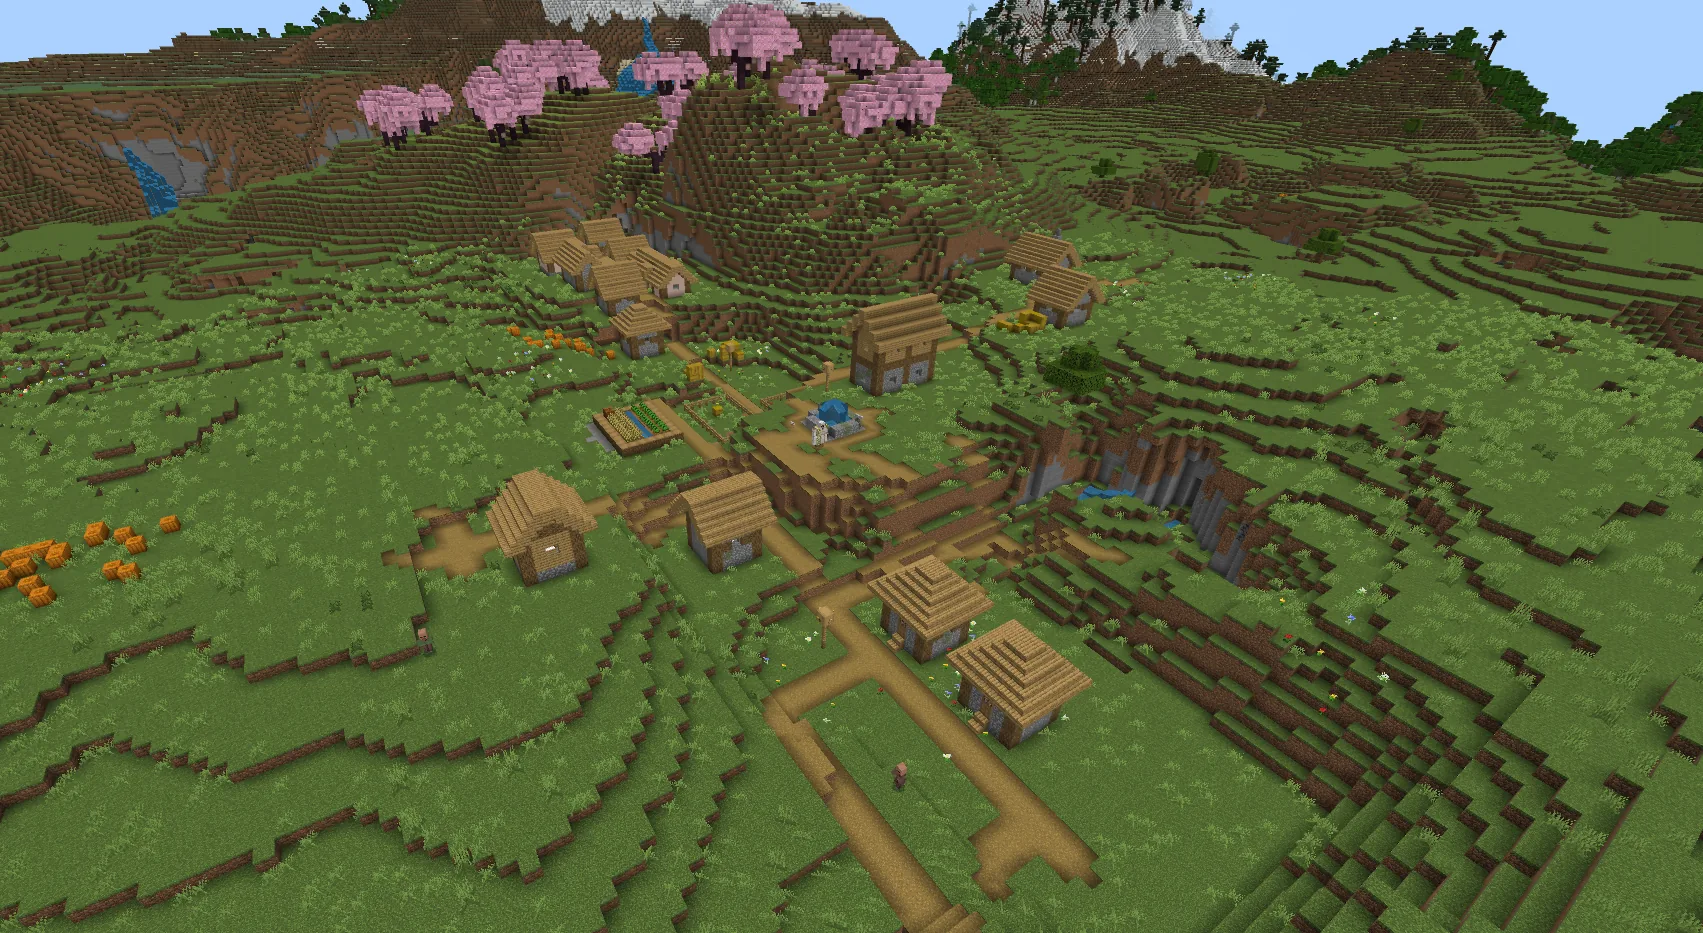
Villages are the most useful early-game structure in Minecraft. They give you free food, a bed, somewhere safe to sleep, and access to villager trades that can completely break the game in your favour. There are five distinct village types — each tied to a specific biome family — and they look completely different from each other.
This guide walks through every village variant, the biomes they spawn in, what loot they have, and how to find one near your spawn.
How Villages Spawn
Villages only spawn in five biome families: plains, desert, savanna, taiga, and snowy plains. The village type is set by the biome it generates in — you cannot have a desert village in a plains biome, even if the village partly overlaps a plains chunk.
Each village has a fixed building set: houses, farms, a meeting place (the bell), occasional larger buildings like a church or a forge. The buildings are made from biome-appropriate blocks. Villagers inside take on professions based on workstations placed nearby.
Plains Villages
The most common village type. Plains villages are made of oak logs, oak planks, cobblestone, and white concrete-style blocks. They spawn on flat green grass biomes and are the easiest to navigate.
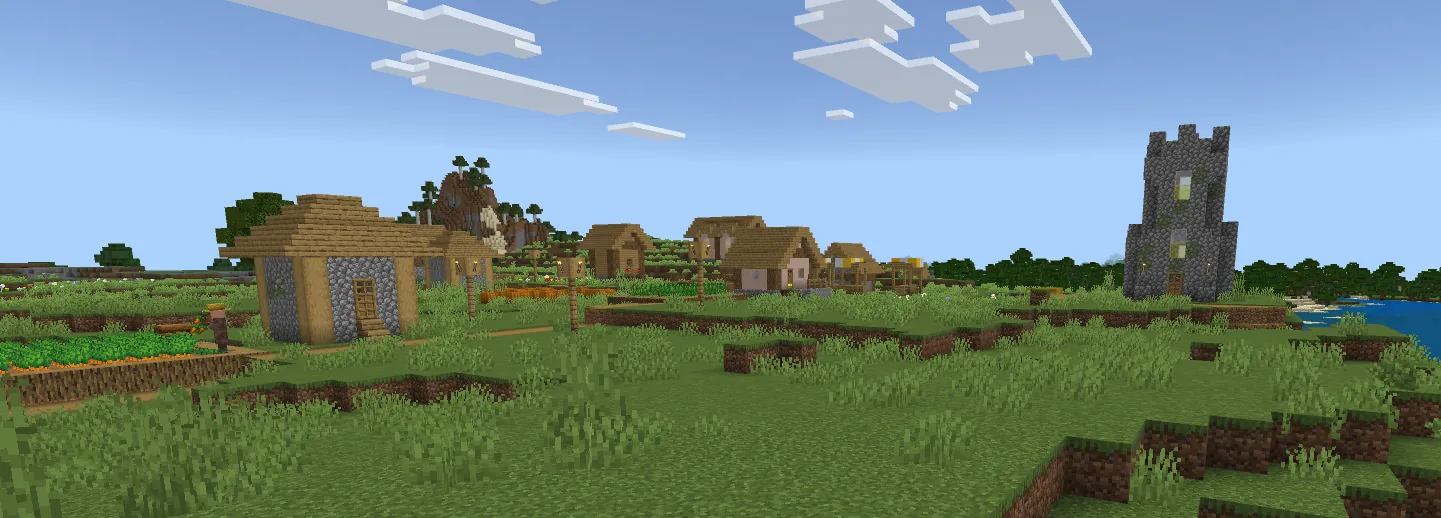
Plains villages tend to have the largest population and the most farms. Wheat, carrots, potatoes, and beetroots all show up. Look for the iron golem near the bell — an easy iron source, though killing it makes the villagers hostile.
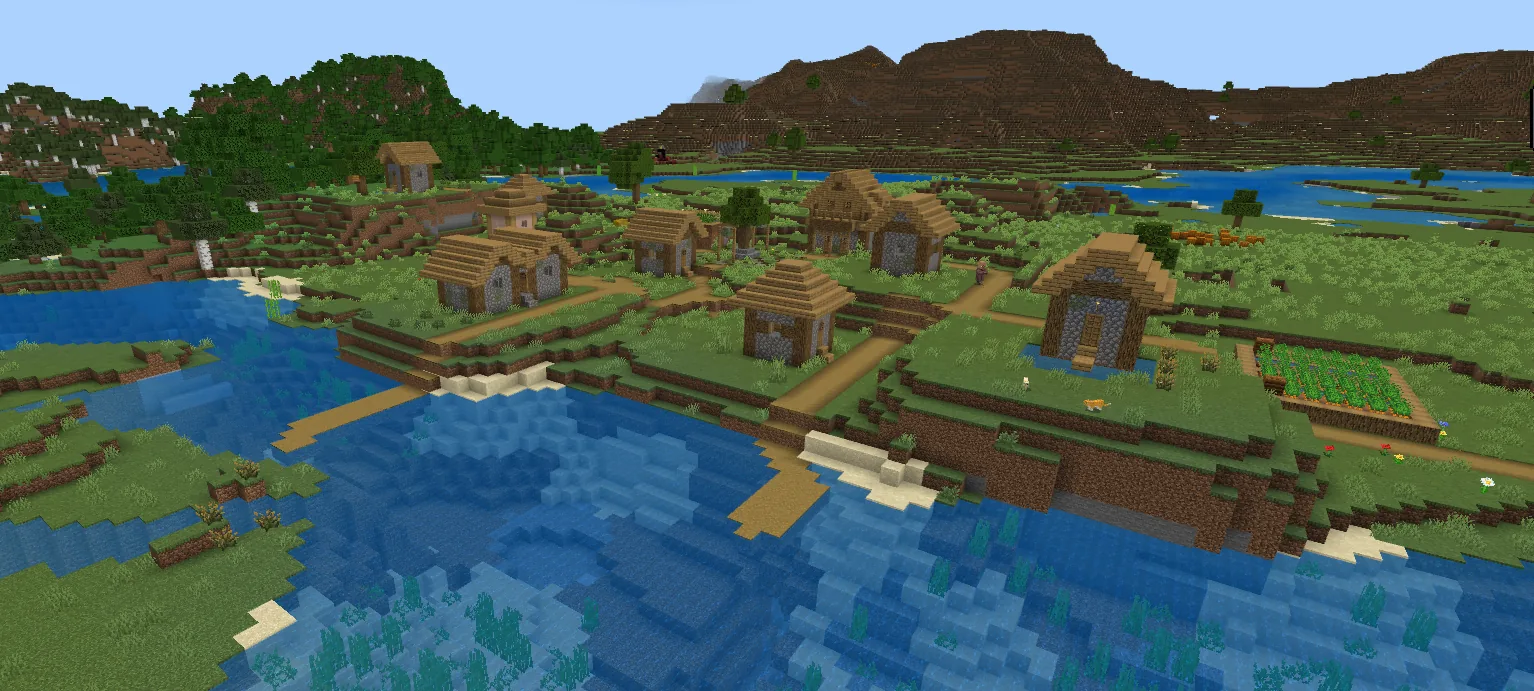
Plains villages also generate near rivers, mountains, and other biomes:

Desert Villages
Desert villages are made entirely of sandstone and smooth sandstone — you can spot one from a long way off because of the colour. They spawn only in desert biomes.
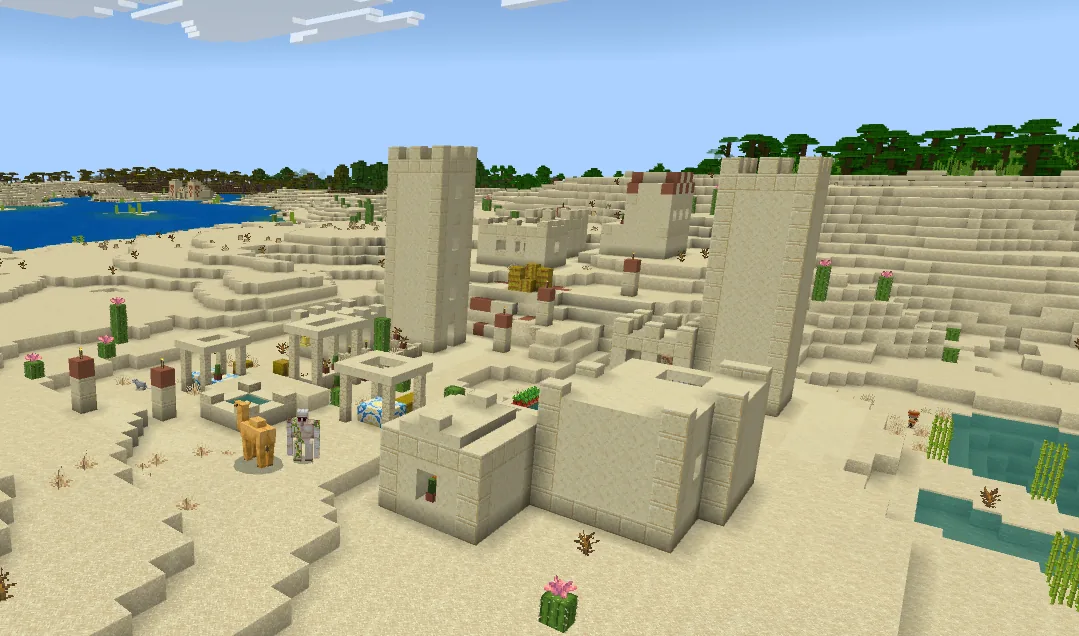
Desert villages have unique features: cactus farms instead of crops, dry wells in the centre, and they sometimes generate next to a desert pyramid — combining two structures in one trip. The lack of trees means desert villages are weak on wood, but the sand and sandstone are renewable building materials.

Savanna Villages (Acacia)
Savanna villages use acacia logs for the walls and beams — orange wood with grey leaves. They are by far the most colourful village type. Houses tend to be raised on stilts because savanna terrain is rolling rather than flat.

Savanna villages share the same general layout as plains villages but with all wood swapped to acacia. They generate in regular savanna biomes only — not in shattered savannas (windswept savannas). Acacia logs are renewable here, which is the only easy way to get them outside of trading.
Taiga Villages (Spruce)
Taiga villages use spruce logs and planks. They generate in regular and old growth taigas. The buildings are typically the most ornate of any village type — tall spruce houses with steep peaked roofs and dark detailing.

Taiga villages often back onto pumpkin patches and have a higher density of cartographer and fletcher villagers in the buildings. They are the best biome to start a survival run if you want spruce wood for building.
Snowy Villages
Snowy villages use a mix of spruce logs, ice, snow, and cobblestone. They spawn in snowy plains biomes — not snowy taiga, despite the look. Igloos sometimes generate near them, giving you a 2-for-1 structure trip.

Snowy villages also have the unique feature of frozen wells instead of normal water wells. The villager populations tend to be smaller but more cartographers spawn here, increasing the chance of getting Woodland Mansion maps and Ocean Monument maps from trades.
How to Find a Village Near Spawn
Three good methods:
Method 1: Use a Seed Map
The fastest way. Drop your seed into the SeedLander Village Finder and it shows every village within range, with biome type and exact distance. Pick the nearest one and head out.
This works for Java, Bedrock, and Java Large Biomes — pick the right edition because village positions differ.
Method 2: Climb High and Look Around
If you have already explored a few thousand blocks, climb the tallest hill or mountain you can find and watch for cubic shapes that do not match the surrounding terrain. Plains and desert villages are visible from a long way off because of the bright wood/sandstone.
Method 3: Trade for One
If you find one village, the cartographer there will eventually offer you maps of other villages once you trade up their tiers — though this is more useful for monuments and mansions than for villages.
Why Villages Matter
Beyond the buildings themselves, villages give you access to villager trading, which is the most powerful single mechanic in Minecraft progression:
- Librarians sell enchanted books — including Mending, Power V, Sharpness V, and Unbreaking III. Mending is the most valuable enchantment in the game and only available through trading or fishing.
- Cartographers sell explorer maps to woodland mansions and ocean monuments.
- Farmers sell emeralds for crops — the easiest emerald source in the game.
- Armorers, Toolsmiths, and Weaponsmiths sell enchanted iron and diamond gear.
- Clerics sell ender pearls and bottle o’ enchanting (XP).
- Iron golems generated alongside villages give you free iron when killed.
Tips for Working With Villages
- Secure the village before nightfall. Hostile mobs only spawn on blocks where the light level is too low — so the goal is to leave no dark spots inside or around the village. The reliable setup:
- Place a fence or wall around the entire village perimeter so zombies and raid pillagers can’t walk straight in.
- Mount torches along the wall every 8–10 blocks, on both sides.
- Place torches inside every house, on every street, and in every farm patch — no shadowed corners.
- Keep lighting going for at least 20 blocks past the outermost wall. Mobs that spawn just outside still wander in at night and attack villagers.
- Don’t kill the iron golem until you must. One golem produces a steady supply of iron over time. Killing it makes the villagers angry — trades become more expensive permanently.
- Trade with each villager every day. Trades reset twice per Minecraft day (morning and evening). Repeat trading raises the villager’s tier and unlocks better offers.
- Beds matter. A village must have at least one bed per villager for the population to grow. More beds means more villagers.
- Find a librarian, then trap them. If a librarian rolls Mending, place a workbench beside them so they cannot move, then trade them daily for life.
Villages are the engine of mid-game Minecraft. Find one near spawn, build a wall around it, and you have a permanent supply of trades, food, and shelter. Drop your seed into the village finder to see exactly how far away the nearest one is.
For the technical specifications on village types and the building generation logic, see the Minecraft Wiki page.