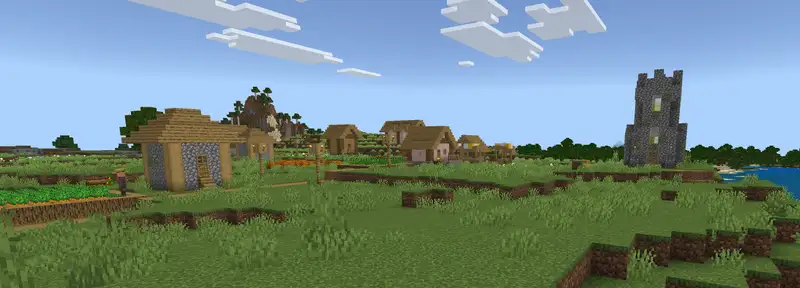
Minecraft map Minecraft · All · Java + Bedrock

Village Finder

Every village in your seed, across all biomes. Villager trades, iron farms, and spawn bases sorted.

Villages generate at the surface of Minecraft Plains, Desert, Savanna, Snowy Plains, and Taiga biomes (plus Meadow on Java). Each village contains villagers with tradeable professions — farmer, cleric, librarian, weaponsmith — plus beds, biome-matching architecture, and are the fastest source of Iron Golems for iron farms.

Where
Surface
Biome
Plains / Desert / Savanna / Taiga / Snowy
Loot
Villager Trades · Iron Golems · Hay Bales
Danger
Raids (if Bad Omen)
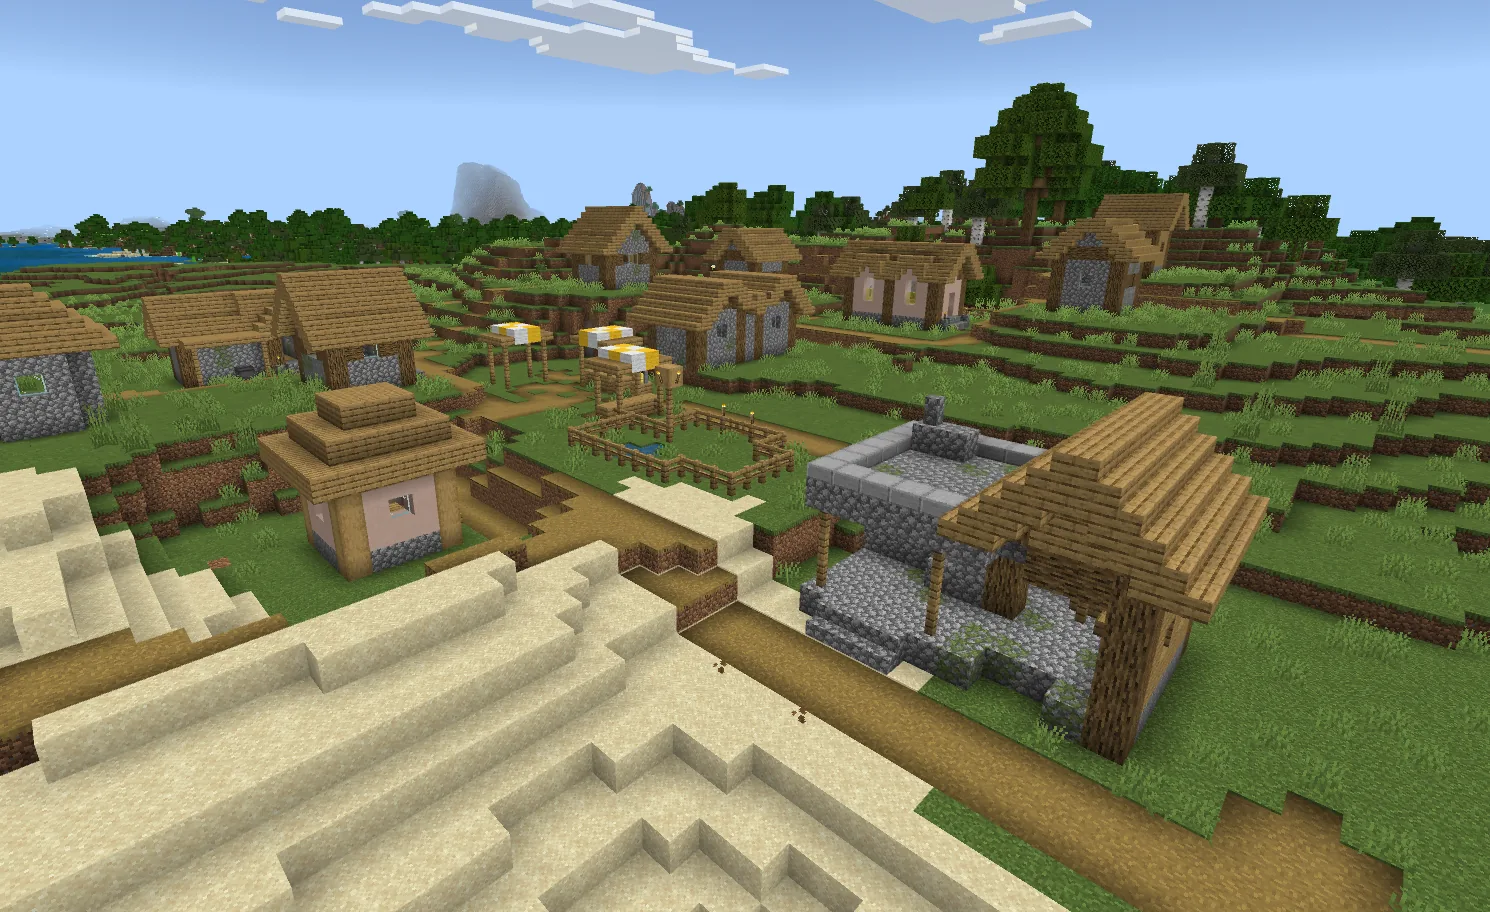
A Minecraft plains village with oak houses, a well, and villagers going about their day
Jump to:
🏠
Village
🏛️
Stronghold
🏗️
Monument
⛩️
Temple
🏚️
Mansion
X: 0   Z: 0   |   -   |   Seed: -
Overworld — Java 1.21.4

Villages Found

Sorted by distance from 0,0

Enter a seed to find structures

Save Your World Map

Create a free account to save custom markers, track explored structures, and share your world.

The Minecraft Village finder from SeedLander shows you exactly where every Village generates across a wide radius in your world. Whether you play Java or Bedrock Edition, just enter your seed and get precise coordinates for plains Villages, desert Villages, savanna Villages, taiga Villages and snowy plains Villages. SeedLander delivers accurate Village locations that match what you will find in-game, every time.

Villages are one of the most important structures in Minecraft. They give you early-game resources, trading opportunities with villagers, iron golems for protection, and ready-made shelter on your first night. Instead of wandering aimlessly hoping to stumble across one, use the Minecraft Village finder to plan your base location near multiple Villages and never miss a blacksmith chest again.

Different biomes produce different Village styles. Plains Villages feature farmland and open layouts, desert Villages use sandstone and have cacti farms, and taiga Villages have spruce wood buildings. The biome also affects which villager professions are available, which directly impacts what trades you can access early. Knowing where each Village type sits in your world lets you plan your progression around the most useful trades.

For SMP servers and multiplayer worlds, the Minecraft village finder helps your entire team coordinate. Find villages for community trading halls, locate clusters for iron golem farming, and claim the best village spots before anyone else. Combine the village finder with the Biome Map for complete world planning.
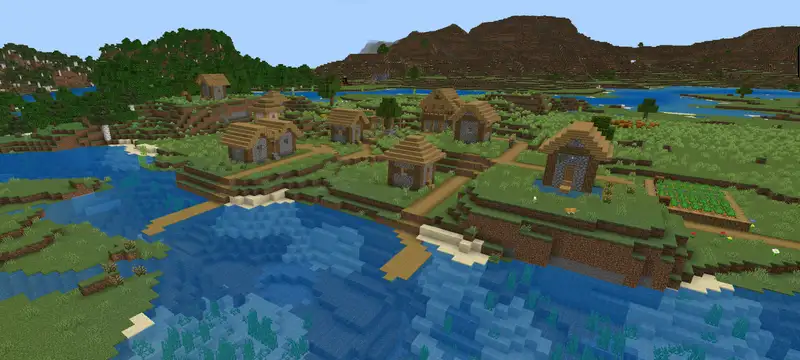
Minecraft Village finder showing a plains Village location on the SeedLander map

Frequently Asked Questions

How Villages Work in Minecraft

Villages are one of the most valuable early-game finds you can make. They come with beds to set your spawn, farms you can harvest without replanting, an iron golem on patrol, and — crucially — villagers you can trade with. By the time you've put in a weekend with a well-placed Village, you can end up with mending books, saddles, enchanted diamond tools and more emeralds than you know what to do with.

The finder above shows every Village across a wide radius of your seed. Pop your seed in, pick your edition and version, and each Village pin tells you what kind it is — plains, desert, savanna, taiga or snowy. That matters, because the biome decides what villagers trade, what their houses look like, and which mobs get along with them. Click any pin for exact coordinates to sail, ride or warp to. For Villages alongside the surrounding biomes, Pillager Outposts (raid risk!) and Ruined Portals, open the full Seed Map.

A plains Village in Minecraft with oak-wood houses and a Village well
A plains Village — the most common biome variant, and usually the friendliest first base.

The five Village types

All five Village biomes share the same basic structure — houses, farms, a well, villager jobs — but each has its own look and some small gameplay quirks worth knowing up front.

  • PlainsThe classic Village type. Plains Villages are built from oak and cobblestone with wheat farms outside the houses, and they're usually the easiest place to settle thanks to the open terrain around them.
  • DesertDesert Villages are built from sandstone and smooth sandstone, with cactus and sugar-cane farms instead of wheat. One thing to watch for at night: desert biomes spawn husks rather than zombies, and husks inflict Hunger when they hit you.
  • SavannaSavanna Villages use acacia wood for their distinctive orange-red colour and tend to spread out across more open ground than plains Villages. The aesthetic alone makes them popular as base sites.
  • TaigaTaiga Villages are built from spruce logs with steep roofs and sweet-berry bush farms in the gardens. Foxes are often wandering nearby — they're harmless to villagers but will steal items they find on the ground.
  • SnowySnowy Villages combine spruce buildings with ice features and small wheat or carrot farms. They're the rarest of the five Village types overall, so it's worth pinning the location if you want to add a snowy variant to your trading hall.

What to do on your first visit

Arriving at a Village for the first time is one of the most relaxing moments in a new seed — assuming you get there before nightfall. The list below is the order I'd run through if it's your first day in a world.

  1. Claim a bed and set your respawn point in the Village. Right-clicking any unclaimed bed at night both sleeps you to morning and resets your respawn point to that exact spot. Villagers "own" the bed they sleep in, so look for a bed without a villager already curled up at its head end. If every bed is taken, harvest some wool from a sheep or even from one of the village's decorative wool blocks and craft your own — three wool of one colour plus three planks.
  2. Light up every dark corner of the Village. Hostile mobs spawn in any block at light level zero, so Villages with unlit paths and farms quickly fill up with zombies and creepers at night that chip away at your villagers. Place torches inside every house, around the central well and along the edges of farms and paths. One common tutorial myth worth busting: lighting the village does NOT prevent Java Edition's separate Zombie Siege event — sieges spawn on the surface regardless of light level, so the only reliable mitigation there is walling the village or covering outdoor ground with slabs. Lighting up still stops everyday night-time mob spawns though, which is what usually matters.
  3. Harvest the village farms — but always replant. Villages have small farms with fully-grown wheat, carrots, potatoes and beetroots that you can break to harvest. Pick up the seeds or roots that drop and right-click them back into the empty farmland — villagers won't maintain the farms unless they're planted, and an unfed villager won't breed. More villagers means more trades over time, so keeping the farms productive directly grows your Village's value.
  4. Drop job-site blocks next to unemployed villagers. Villagers wearing plain brown robes have no profession yet — drop a job-site block (Lectern for librarian, Blast Furnace for armourer, Fletching Table for fletcher, Smithing Table for toolsmith, Cartography Table for cartographer) next to one and they'll claim it within a few seconds. Librarians sell Mending and Efficiency books, toolsmiths sell enchanted diamond pickaxes, and clerics trade Ender Pearls — three of the most valuable trade lines in the game.
  5. Stay in the Village overnight — let the Iron Golem do the work. Every Village with enough villagers and beds spawns at least one Iron Golem, a 42-health iron-armoured guardian that one-shots most hostile mobs. You'll often wake up to find it with a sliver of health left and zombies dead around it. Right-click an iron block on the golem to heal it back up, or place four iron blocks plus a pumpkin head on top to spawn a second one if your village starts taking heavy nightly traffic.

Why Trading Is Such a Big Deal

Trading is the part of Villages that genuinely changes how you play Minecraft. A max-level librarian can sell you Mending, Unbreaking III, Efficiency V, and Silk Touch for a handful of emeralds and a book each. Armourers offer enchanted diamond chestplates. Farmers take your surplus crops and give you emeralds in return, which funds everything else.

If you've not done much trading before, the trick is to not be precious about it: pick one job site, drop it next to an unemployed villager, talk to them to see their offers, and if the deal isn't great, pick up the job block and drop it again until they offer the trade you want. That's called "villager rolling" and it's how every serious survival world ends up with a stack of Mending books by month two.

Pair It With Other Finders

Villages are often the first place you settle, so it's worth knowing what else is nearby before committing. If there's a pillager outpost in the area, expect raid waves every time you accidentally trigger Bad Omen — plan accordingly. A ruined portal close by means cheap obsidian for a nether route, and a stronghold nearby turns the village into a launchpad for the endgame. Pull up the full map with all those toggles on to see the picture properly.

Save your home village

Creating a Free World on SeedLander shows every Village across a wide radius in your seed. You can also add custom markers and portals for the spots that matter to you.

Premium World (£1.99/mo per world, first 14 days free) lets you mark your home Village, pin the job sites you've set up, and track villager trades, add unlimited custom map markers and portals, and share routes with your team mates (with our team addon).